Published
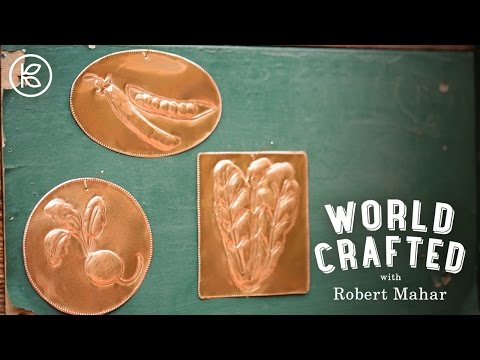
How to make metal charms inspired by Mexican culture! SCROLL down for DIRECTIONS. Don't forget to give today's video a THUMBS UP if you liked Robert's project and COMMENT BELOW with ideas for future episodes!
Watch more episodes of World Crafted HERE: http://bit.ly/2j0UOxB
____________________________________________________________________
CONNECT WITH KIN COMMUNITY
Subscribe here: http://bit.ly/MKYoureInvited
Facebook: https://www.facebook.com/KinCommunity
Pinterest: https://www.pinterest.com/kincommunity
Twitter: https://twitter.com/kincommunity
Instagram: https://instagram.com/kincommunity
Snapchat: http://bit.ly/AddKin
FOLLOW ROBERT MAHAR
Website: http://robert-mahar.com/
Instagram: robert_mahar
Pinterest: robert_mahar
Twitter: robert_mahar
____________________________________________________________________
DIY Metal Charms
Materials:
38 gauge aluminum foil
Serrated shears
Line art image of your choice
Ballpoint pen
Tooling tools – such as a stylus, wooden skewer, craft stick, pounce wheel or spoon
Awl or paper punch
Directions:
1) Select an image to tool into your foil - keeping in mind that simple line art works best. You can scan and print line art from magazines, old greeting cards, coloring books or search for clipart online.
2) Cut a piece of the foil slightly larger than your selected image. Trim the paper around your printed image and then tape it to one side of the foil. Place the foil on a piece of felt for cushion and then trace the image, embossing it into the foil, using a simple ballpoint pen. Using a pen helps you keep track of your tracing, but you can always flip your piece over to make certain you haven’t missed anything.
3) Optionally, trace an outline around the image using a pounce wheel to create a decorative dotted/perforated line.
4) Once the entire image has been traced, remove the paper and turn the foil over. You’ll see the embossed outline, but now we want to work the foil to make the lines more pronounced and give the image more dimension. There are a variety of tools that you can use for this purpose – a stylus and a wood tool used for sculpting clay are shown in the video – but get creative here, consider a craft stick, a wooden skewer or even a spoon. One way to make the embossed lines stand out more is to trace around them. When finished, flip the foil over.
5) Debossing or indenting areas on the back of the foil raises those same areas on the front creating a relief. Using a tool such as the back of a spoon or the rounded wood end of a tool gently work areas of your image and occasionally flip the foil over to see the results.
6) When finished tooling the design, gently rework any areas that may have been pressed down during handling of the foil. Cut along to the outer edge of the border. Add a hanging hole using a sharp awl or a standard paper punch.
____________________________________________________________________
- Category
- Arts
Sign in or sign up to post comments.
Be the first to comment
Up Next
Autoplay
-
18:51

Pastry Chef Attempts To Make Gourmet Lucky Charms | Gourmet Makes | Bon Appétit
-
00:31
DIY Spooky Metal Craft Inspired by Wednesday Addams ????⚡ #wednesday #metalcrafting #halloween2025
-
00:24
90s NOSTALGIA Cereal Latte Recipe: Lucky Charms
-
00:19
Lucky Charms Martini
-
13:40
LOL Surprise Giant Ball - Big & Lil Sisters Baby Dolls 50 Surprises Blind Bags + Bath Fizz Charms
-
03:53
DIY Wooden Clog | World Crafted
-
06:41
DIY Spider Christmas Tree Ornament | World Crafted
-
07:09
DIY Embroidery Hoop Weaving | World Crafted
-
14:46
LOL Surprise Giant Ball - Big & Lil Sisters Baby Dolls Surprise Blind Bags + Bath Fizz Charms Toys
-
21:03
Hats, Charms & Cakes - Mail Time #6 - #LifeWithEvan
-
04:54
DIY Fortune Telling Candles | World Crafted
-
03:55
How to Make a Lucky Charms Milkshake | Get the Dish
-
02:56
Surprise-Inside Lucky Charms Cupcakes | Get the Dish
-
15:45
5 DIY Masterfully Crafted Costumes From Scratch!
-
00:31
30 seconds with Joe Carter for HEINZ BBQ Sauce – Crafted by Award-Winning Pitmasters
-
00:14
Piglet Charms Husband Who Said No to Indoor Pets
-
02:33
Going to Lucky Charms Clone-Town with Bear River Valley
-
00:56
How to turn coins into a beautiful DIY metal rose ???? #recycle #jewelry #metal
-
11:56
LOL Surprise Giant Ball - Big & Lil Sisters Baby Dolls 50 Surprises Blind Bags Bath Fizz Charms
-
05:49
DIY Incense Cones | World Crafted
-
06:14
ASMR Short Sample of Master Crafted Whispering & Inaudible Sounds
-
05:13
Colorful Fabric Dyeing Techniques | World Crafted